You can make an animated image with WebEasy’s Animated GIF Component Assistant. You can create animated GIF images using your own images.
Note: To use your own images, you must have the GIF images available before starting the assistant.
1 Open the WebEasy menu and choose Create Animation.
2 In the Animated GIF Component Assistant wizard, click Next.
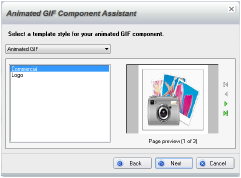
3 Select a template style for the image: Commercial or Logo, and click Next.
With the Commercial style, the animation can have three states, which are all the same size. With the Logo style, the animation can have five states of increasing size.
You can preview the selected style by clicking the buttons to the right of the Preview area.
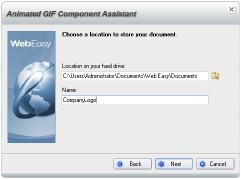
4 If you wish, click the Browse button. In the Choose Folder dialog box, locate and select a folder for saving the image. Click Open.
By default, WebEasy saves animated GIF images to your Documents folder.
5 In the Name box, type a name for the image and click Next.
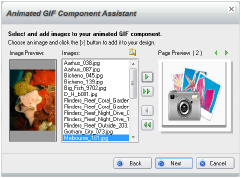
6 Click the Select Folder button at the top of the Images list. In the Browse for Folder dialog box, locate and select the folder that has the GIF files for the animation. Click OK.
7 In the Images list, select an image for the animation and then click the > button. (Use the arrow buttons above the Preview area to specify which placeholder to replace.)
8 Repeat step 7 for each image to add to the animation.
The Commercial style animation uses three images. The Logo style uses five. When you’ve added enough images, WebEasy beeps. If you have multiple images in the folder, you can add all the images (up to the maximum number) by clicking the >> button.
9 Once you have the images added, verify them by clicking the buttons above the Preview area.
To remove an image, show it in the Preview area and click the < button. To remove all the images, click the << button.
10 Click Next.
11 Select the Build animated GIF now check box.
12 Click Finish.
13 In the Build Animated GIF dialog box, specify the options for the GIF file.
You can change the size of the GIF animation. Click the Advanced button to change the palette, the color depth, page effect, page duration, specify a color to make transparent, or make the file interleaved.
14 Select the Run now check box to see the animated file.
15 Click OK.
If you selected Run now, the animation shows in your default browser. WebEasy opens the file as a document in the workspace. You can now copy and paste the GIF animation to insert the image into a document or insert it as you would any other image.