Instead of dragging images, you can insert images using the Picture menu on the Insert and Modify tab.
1 On the Insert and Modify tab, click Picture to open the menu.
2 Choose Pictures. [in build 17 still shows as Picture button]
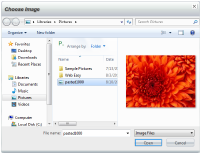
WebEasy opens the Choose Image dialog box to the Pictures (or My Pictures) folder.
To insert a specific type of image, click Picture > Photos, Picture > Clipart, or Picture > Animated GIF. With each, WebEasy opens a specific Media Gallery folder by default.
3 In the Choose Image dialog box, locate an image available with WebEasy or open another folder that has images.
4 Select the image.
You can insert more than one image at a time by holding down the Shift key while clicking adjacent file names, or by holding down the Ctrl key while clicking non-adjacent files.
1 Click Open.
2 Position the pointer to place the image(s), and click.
See Also